VNC Server in Ubuntu 16.04, 18.04 and CentOS 7
If you work with a server hosted in the cloud environment, most of the time, you may find it very useful to have graphical access to the server. Here, we will install TightVNC on the Ubuntu 16.04 and CentOS 7 and VNC4Server on Ubuntu 18.04 and then connect to it. In order to access the operating system graphically, a graphical environment should be installed on the OS. The most used ones are LXDE (fig 1), Mate (fig 2), Xfce (fig 3), KDE (fig 4) and Gnome (fig 5). Running each one requires different hardware specifications.
 Fig 1: LXDE Plasma Environment
 Fig 2: Mate Environment
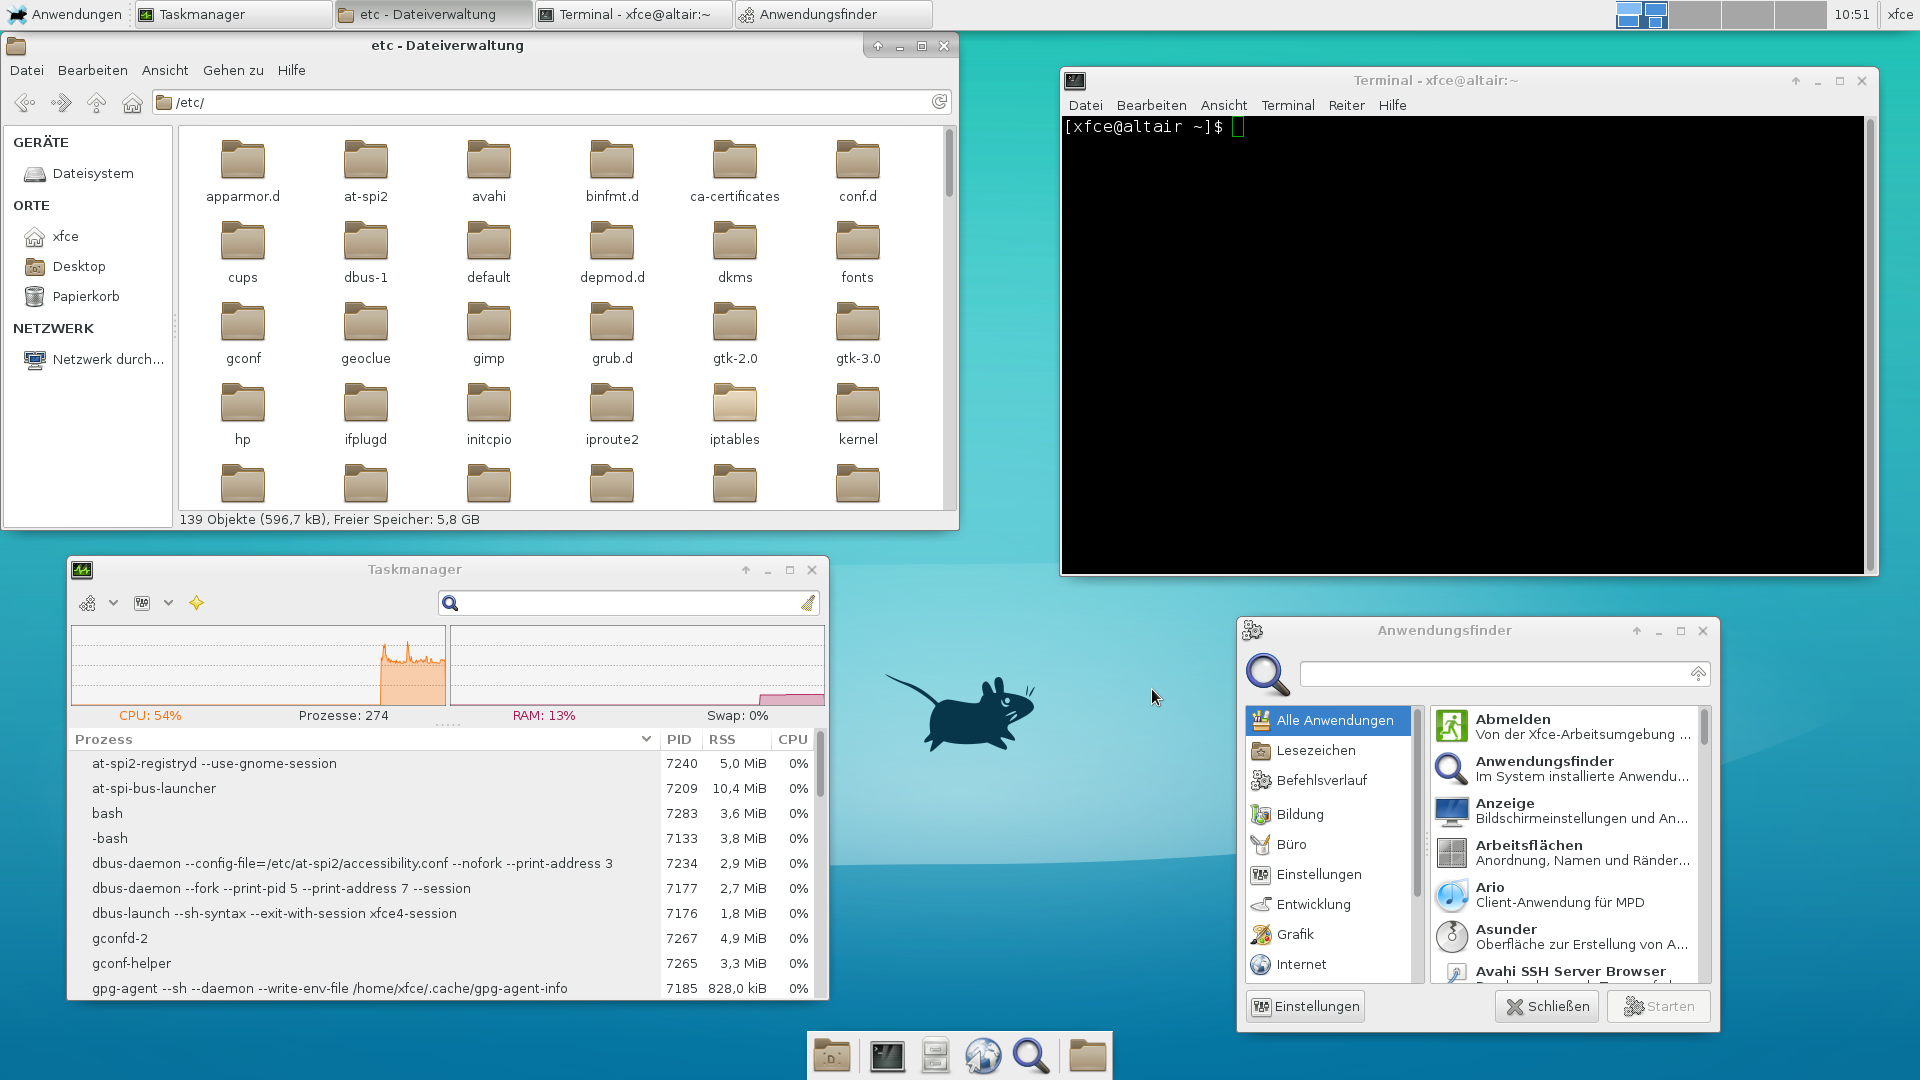 Fig 3: XFCE Environment
 Fig 4: KDE Plasma Environment
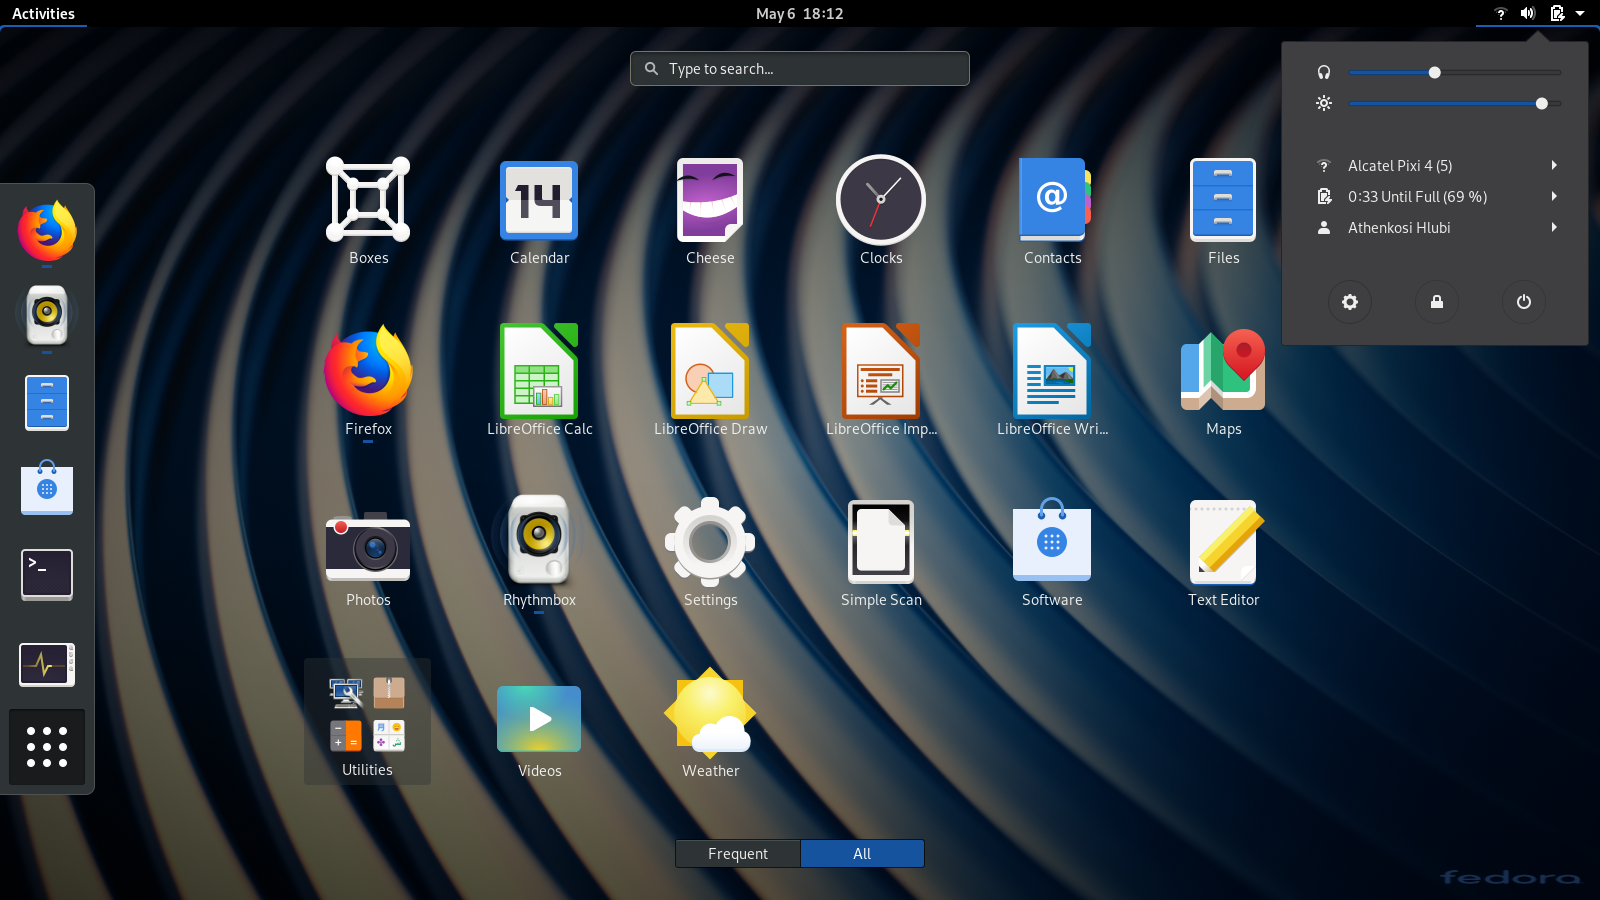 Fig 5: Gnome Environment
Getting Started
If the operating system has a graphical environment you may skip the Install Graphical Environment section. Let’s start with CentOS 7:
CentOS 7
Install Graphical Environment
To install Gnome on CentOS 7:
sudo yum groupinstall "GNOME Desktop"TightVNC Server Installation and Configuration
TightVNC server is a popular VNC server. Install it on the CentOS by:
sudo yum install tigervnc-server xorg-x11-fonts-Type1VNC Server Configuration
The next step is to create a config file for VNC server. In CentOS, we can copy the default config file and modify it to reflects the appropriate configuration.
sudo cp /lib/systemd/system/vncserver@.service /etc/systemd/system/vncserver@:1.serviceThe number 1 in vncserver@:1.service shows the display port in VNC server. The VNC server uses ports ranging from 5901 to 5909. Copy the bellow configuration to the newly created file and replace the centos with your username.
[Unit]
Description=Remote desktop service (VNC)
After=syslog.target network.target

[Service]
Type=forking
ExecStartPre=/bin/sh -c '/usr/bin/vncserver -kill %i > /dev/null 2>&1 || :'
ExecStart=/usr/sbin/runuser -l centos -c "/usr/bin/vncserver %i"
ExecStop=/bin/sh -c '/usr/bin/vncserver -kill %i > /dev/null 2>&1 || :'

[Install]
WantedBy=multi-user.target
We realized a line like this “PIDFile=/home/
systemctl daemon-reload
systemctl enable vncserver@:1.service
Running the VNC Service
Now run the VNC server. If this is the first time then you have to provide the password for VNC server. This password will be used when you connect to the VNC sever.
vncserverAfter running VNC server, kill the session that the previous command just created and run the service:
vncserver -kill :1
sudo systemctl start vncserver@:1.service
Ubuntu 16.04 and 18.04
Install Graphical Environment
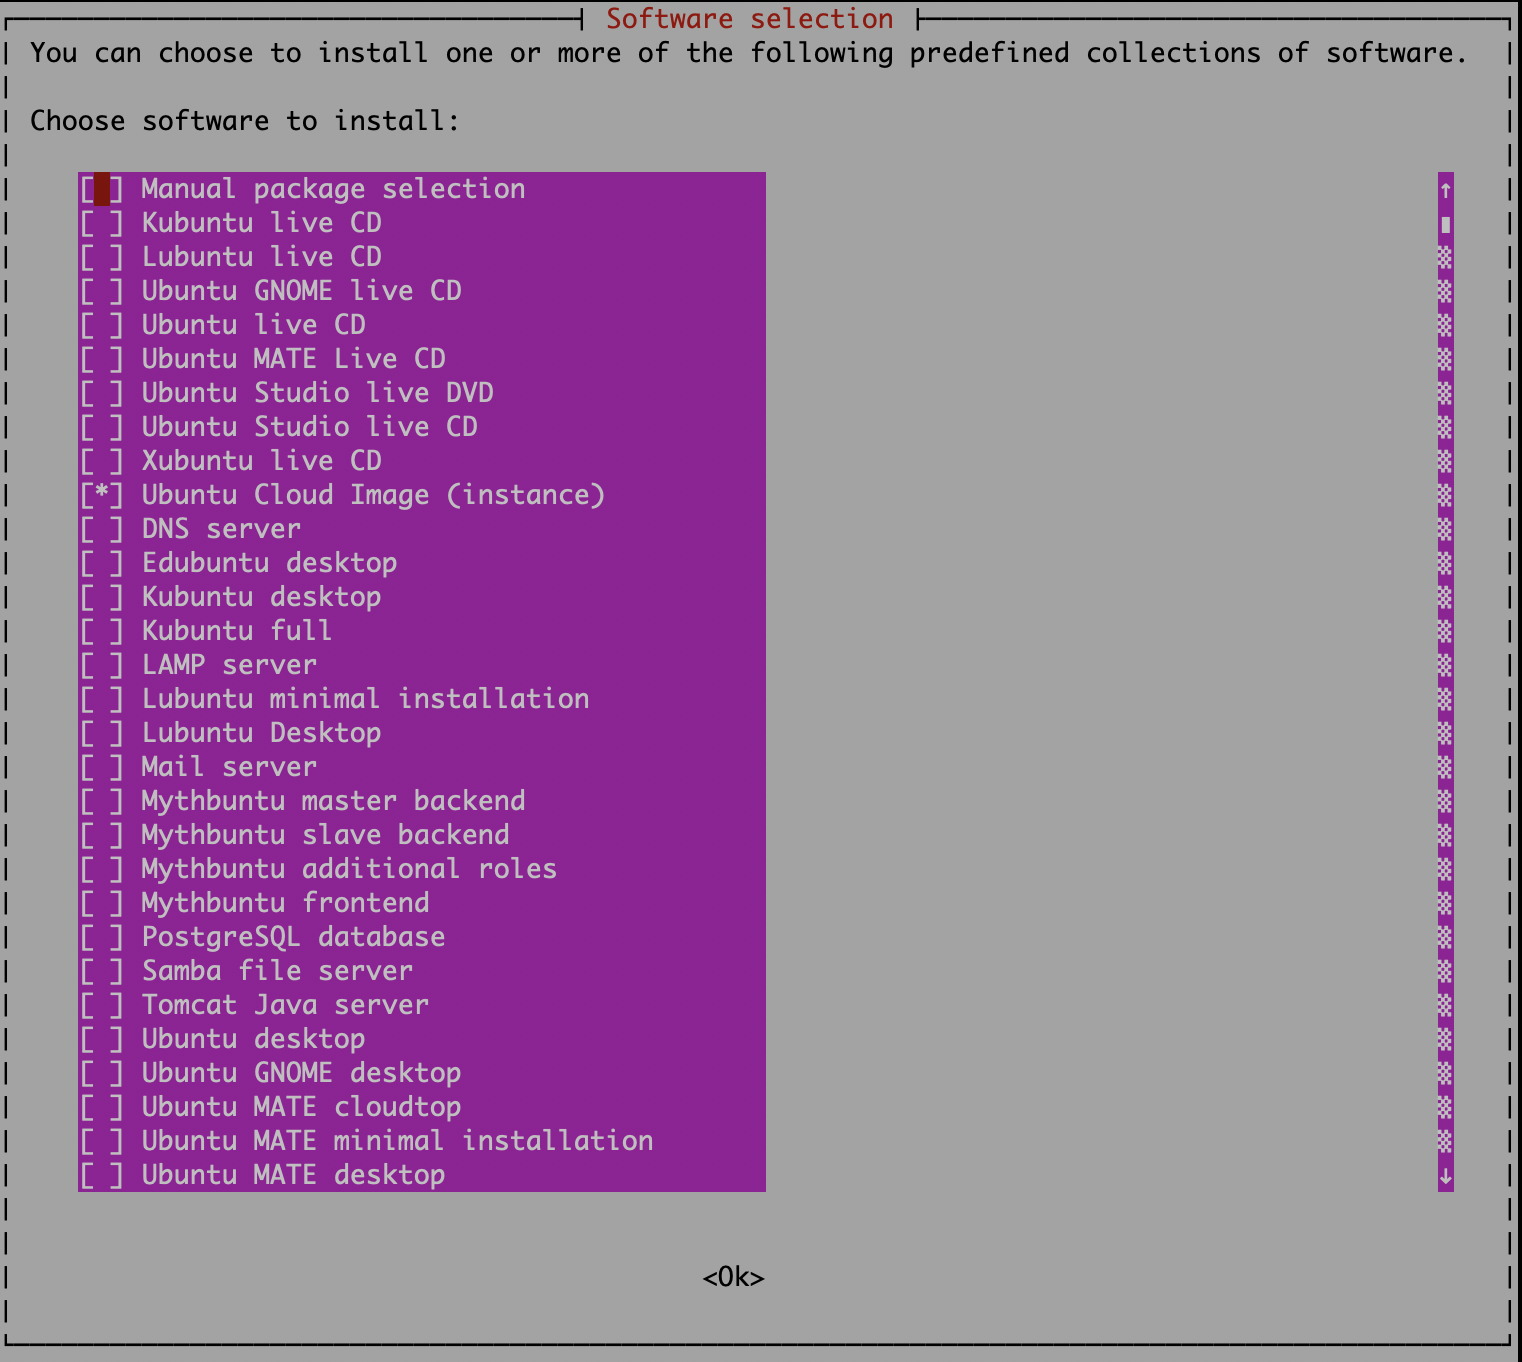
I prefer to install the graphical environment using a tool called tasksel. It used to install a collection of tools:
To install Ubuntu Mate:
sudo apt install tasksel
sudo tasksel
When you run the tool, you will see a user interface which let you install collections of tools, including a couple of graphical environment for Ubuntu. In this dialog let’s select Ubuntu Mate minimal installation:
VNC Server Installation and Configuration Ubuntu 16.04
Install TightVNC server on the Ubuntu by:
sudo apt install tightvncserverVNC Server Configuration
In Ubuntu we have to create a file named as vncserver@.service:
sudo vim /etc/systemd/system/vncserver@.servicePut the content bellow into the file. Do not forget to replace every ubuntu word with your account username on the machine:
[[Unit]
Description=Start TightVNC server at startup
After=syslog.target network.target

[Service]
Type=forking
User=ubuntu
Group=ubuntu
WorkingDirectory=/home/ubuntu

PIDFile=/home/ubuntu/.vnc/%H:%i.pid
ExecStartPre=-/usr/bin/vncserver -kill :%i > /dev/null 2>&1
ExecStart=/usr/bin/vncserver :%i
ExecStop=/usr/bin/vncserver -kill :%i

[Install]
WantedBy=multi-user.target
sudo systemctl daemon-reload
sudo systemctl enable vncserver@1Running the VNC Service
Now we need to run the VNC server and If this is the first time then you have to provide the password for VNC server:
vncserverAfter running VNC server, kill the session that the previous command just created and run the service:
vncserver -kill :1
sudo systemctl start vncserver@1
VNC Server Installation and Configuration Ubuntu 18.04
Install VNC4Server on the Ubuntu by:
sudo apt install vnc4server -yVNC Server Configuration
Configuration of vnc4server is quite easy. Run the vncserver for the first time to set the password:
vncserverIt is just enough to have the file ~/.vnc/xstartup with following configuration and no change is neccessary:
#!/bin/sh
xrdb $HOME/.Xresources
xsetroot -solid grey
#x-terminal-emulator -geometry 80x24+10+10 -ls -title "$VNCDESKTOP Desktop" &
#x-window-manager &
# Fix to make GNOME work
export XKL_XMODMAP_DISABLE=1
/etc/X11/Xsession
Running the VNC Service
Now we run the VNC server:
vncserverAfter running VNC server, kill the session that the previous command just created and run the service:
vncserver -kill :1
SCREEN_SIZE=1440x900
vncserver -geometry $SCREEN_SIZE :1
Access to the Remote Machine using VNC Client
There are a couple of VNC viewer client avaialbe. Download one of them and connect to server:
vnc://IP_address:5901Troubleshooting
When you try to install a graphical environment and start the VNC server, it is pretty common to encounter errors and gray screen. Here is a list of resources which may be useful:
Want to read more?
Check out these pages:- Kubebuilder Admission Webhook for Core Types
- Kubernetes Object Configuration with Kustomize
- A Guide to CA, CSR, CRT, and Keys (Digital Certificates)
- Deploy a Local Kubernetes Webhook Server
- Linux iptables Reference Guide with Examples
- Configuring sFlow on Dell Switch with OS9
- Configuring WebDAV Access for Zotero on Ubuntu
- Dell Switch Configuration Commands
- Route Traffic through a Private Network using Dynamic Port Forwarding and Proxy SwitchyOmega
- Access to the SAVI using CLI
- Connect to Existing Running Desktop Session using x11vnc
- Install Ubuntu 20.04 via PXE UEFI Setup
- Access to the SAVI using Web Portal
- Run PyCharm IDE over SSH using Remote Host Interpreter
- Reverse SSH to Access Hosts Behind the NAT
- Create an Overlay Network in Ubuntu using Open vSwitch (OVS)